Loading cart contents...
How to create metal text effect for the fantasy book cover
Today I want to present you a quick and easy trick for making more “natural” metal text effect. This technique could prove really useful while making medival or fantasy book cover.
Tutorial is intented for people with a basic Photoshop skills. Let’s start!
Choosing font
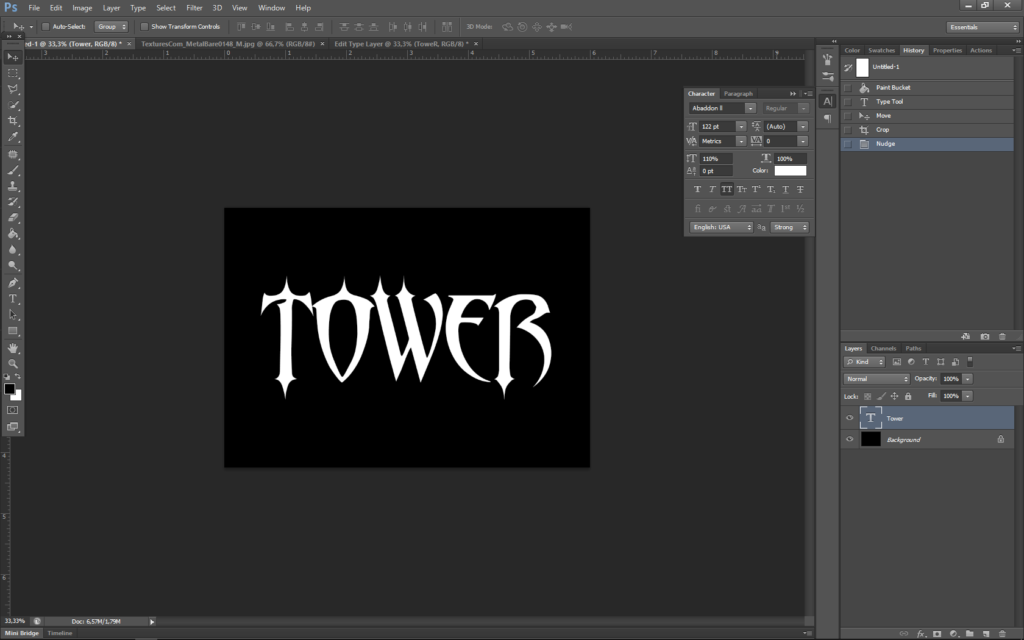
This techinque work best with bold fonts. Try to choose “fat” font that fits your book. In this example, I used free font called Abaddon II.
Applying text effects
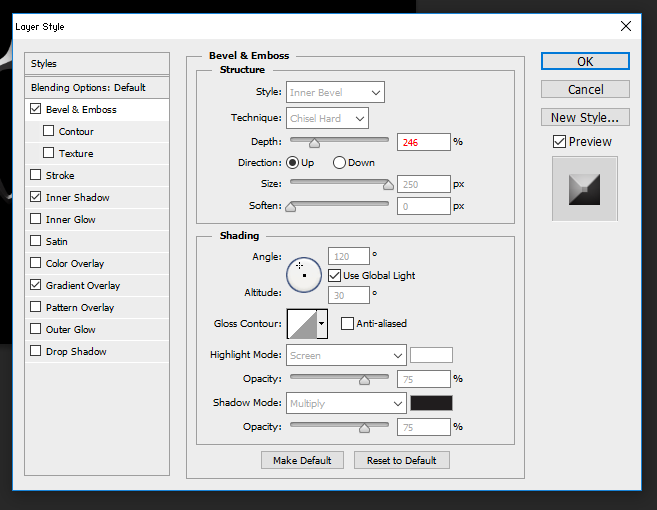
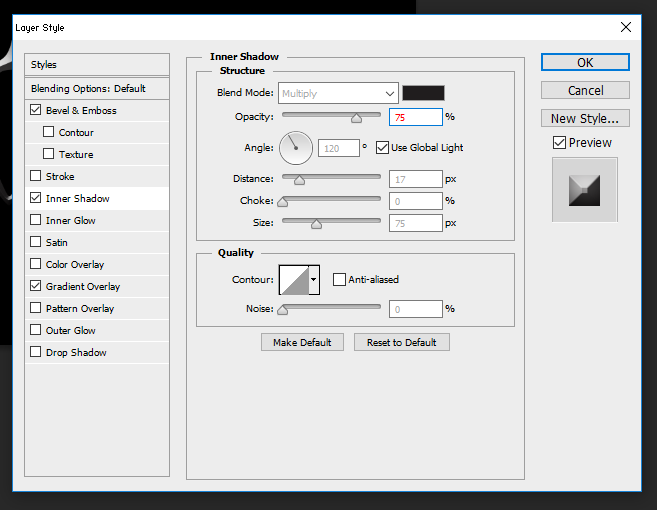
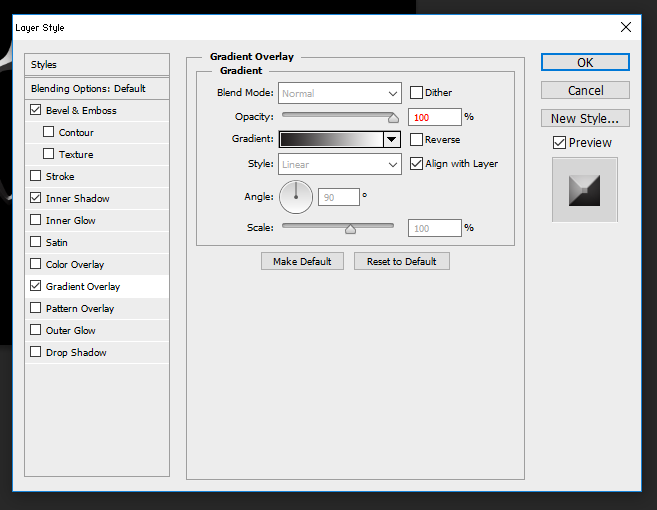
Now, we will apply text effects to give dimension to the font. To do this, right click the text layer and choose Blending Options (first position in the menu). Below are screenshots with the settings used in my example, but try to experiment with them to give your text the effect that works with your font and best matches the rest of your book cover.
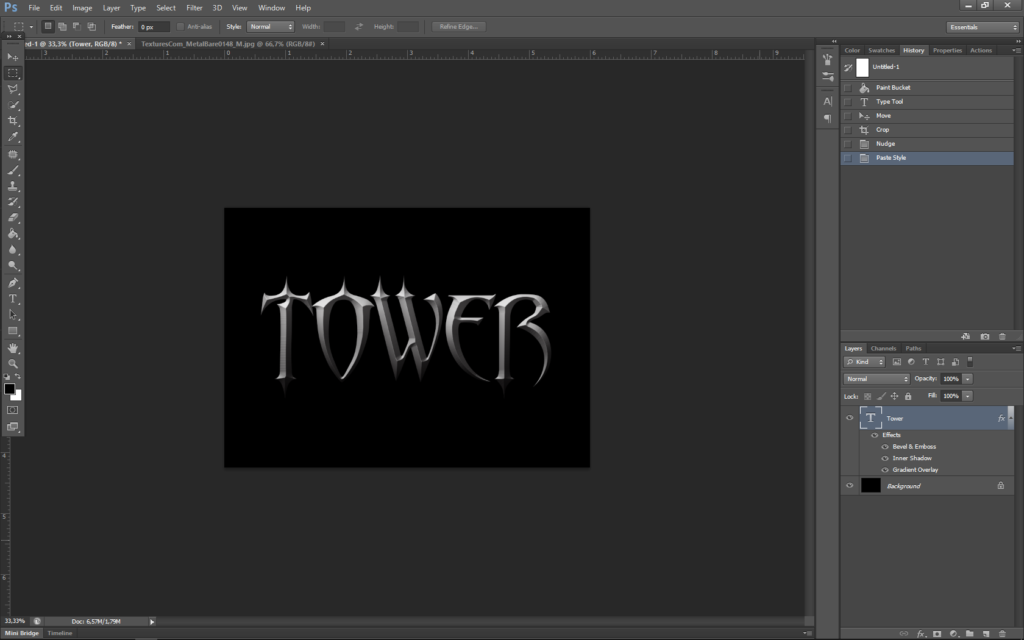
And this is how the title looks with applied effects:
Choosing texture
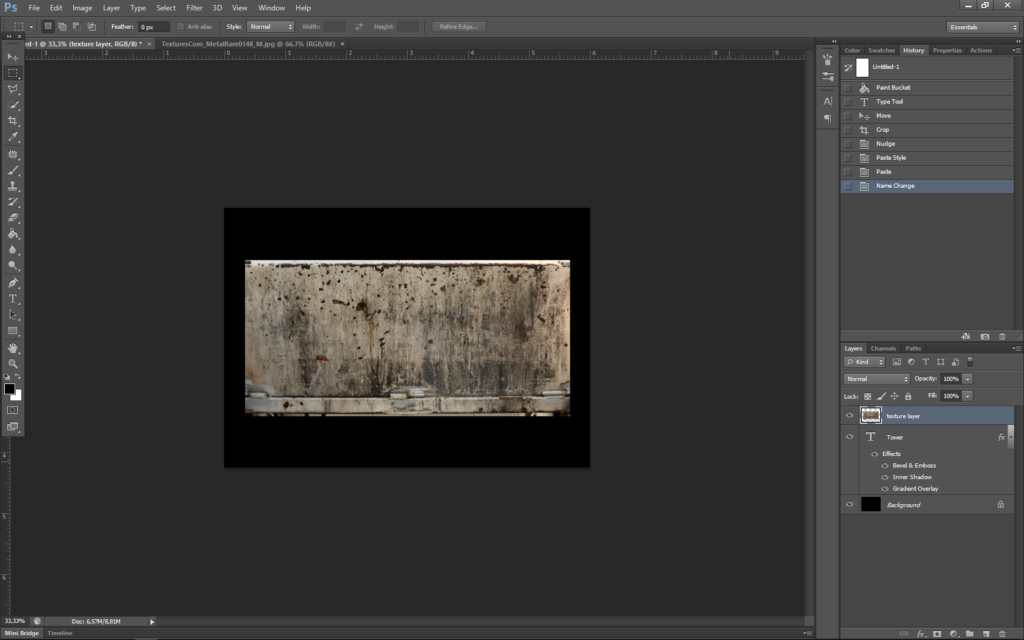
At this point, you have to find the texture that best fits your vision. Generally, stone and metal textures give the best results. You can find plenty of websites with free textures, one of them is www.textures.com. There I found this textures. Download the texture in the highest available size and paste it above your text layer. Make sure texture covers whole title.
Applying texture
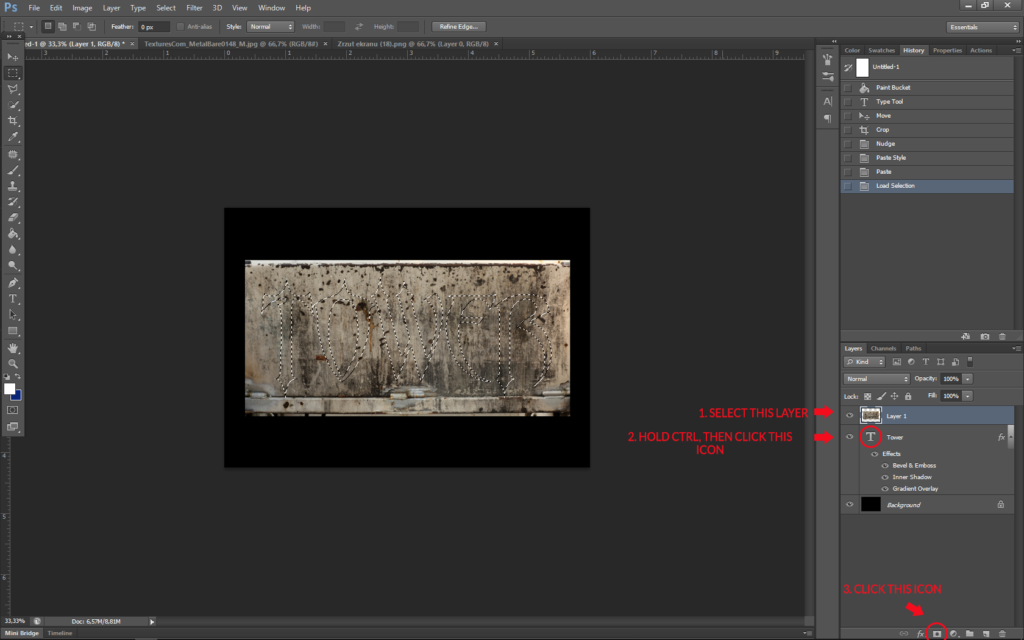
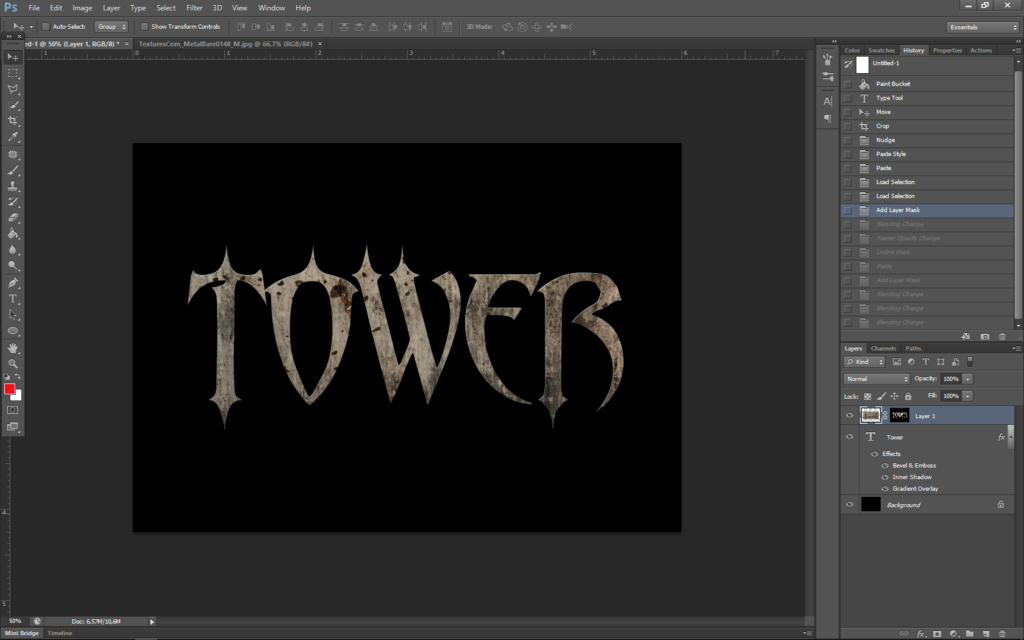
Now we have to force the texture to appear only on the text. To do this:
- select texture layer
- hold CTRL, then click the “T” icon on the text layer
- click the third icon on the bottom bar of the layer tab
See the screenshot below with marked click points.
Levitra es una droga basada en el vardenafil, un inhibidor de la enzima fosfodiesterasa 5 que promueve el flujo de sangre al pene después de la estimulación sexual. https://espanapharm.com/comprar-levitra.html Esta clase de medicamentos ayuda a lograr y mantener una erección, por lo que se utiliza para tratar la disfunción eréctil en hombres adultos. Puedes leer más aquí https://espanapharm.com/
You should end up with something like this:
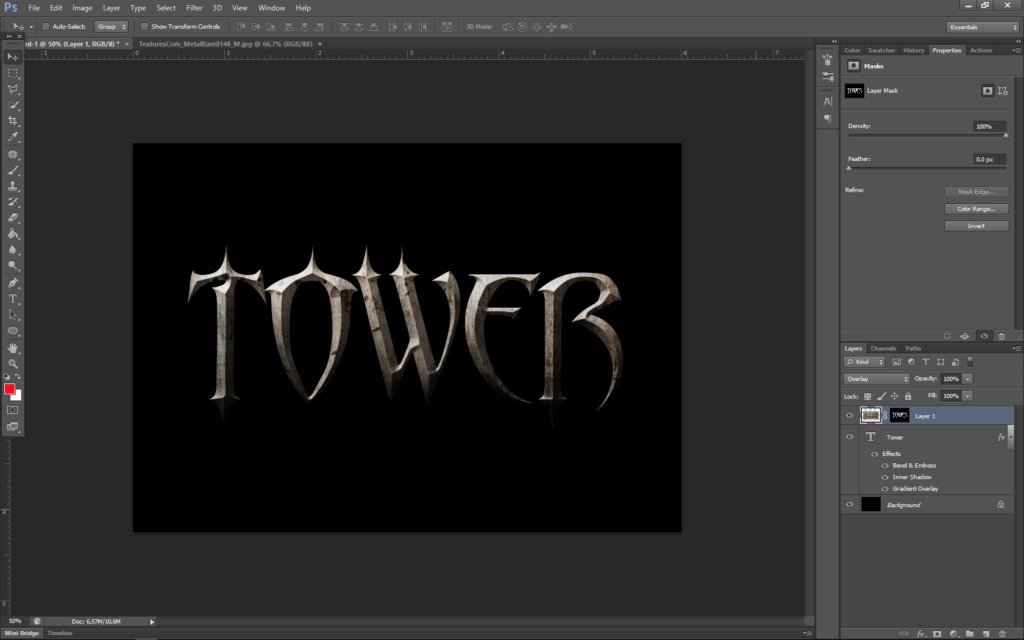
Click the texture layer, hold SHIFT and click the text layer. Right click one of the layers and choose option “Link layers”.
Now it’s time to experiment with the blending modes and opacity of the texture layer. In my example, I used the Overlay mode and 100% opacity.
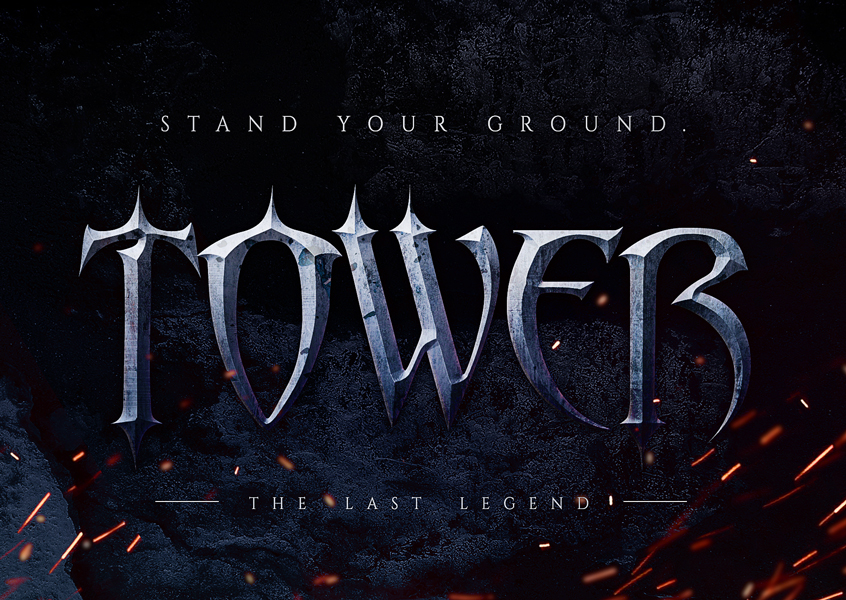
That’s it! It is a very simple technique that can give a lot of different and interesting results depending on your knowledge of computer graphics and Photoshop. Some ideas include applying drop shadow and inner glow (as a text layer effects) or changing hue, colors, contrast etc. (via Layer > New Adjustment Layer). Below you can see my modification. I used Hue Adjustment Layer, drop shadow and inner glow, added background and few additional lines of text.